Four Steps to Selecting a Screen

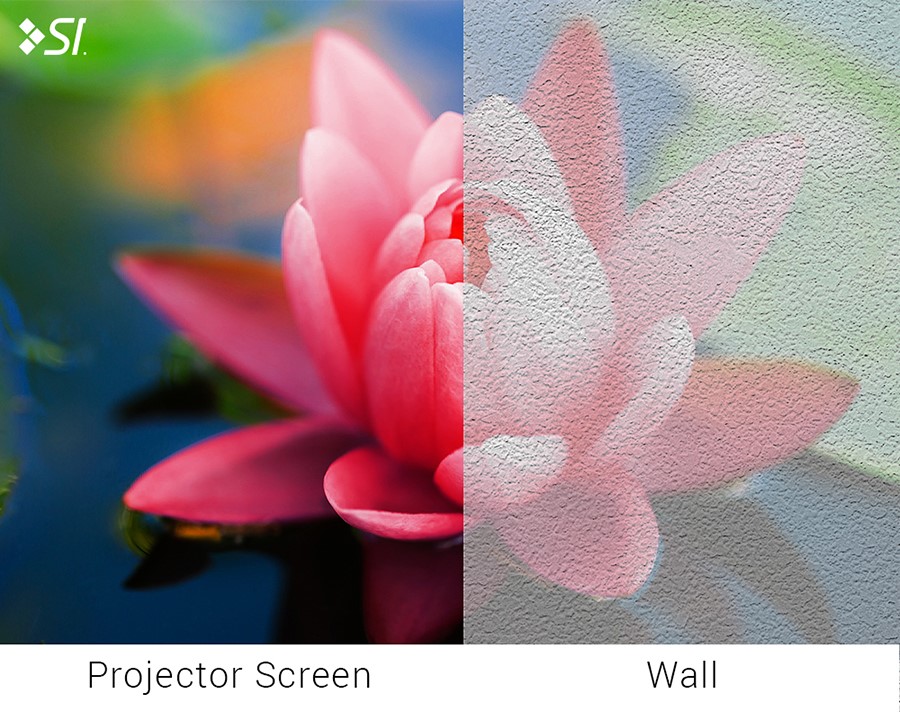
Note: for best image quality, we recommend using a screen over a wall surface. Textured surfaces and paint hues can have a noticeable effect on the projected image.
Need a little help finding the perfect screen? Follow our fast and easy guide to selecting a screen. It's all you need to know in four simple steps.
Step One : Choose Screen Mounting Orientation
Step Two : Selecting a Screen Surface
Step Three : Choosing an Aspect Ratio
Step Four : Determining Screen Size
Step One: Choose Screen Mounting Orientation
Your first decision is to decide how you want to use your screen. Do you want your screen to be portable or do you plan to install your screen in a permanent location? Do you want a screen with bells and whistles? Or do you want something simple and inexpensive? Below are the four screen mounting orientations we currently offer.

Screen Mounting Options:
Portable Screens: Projector screens that travel from location to location readily, includes inflatable screen options.
Manual Screens: An economical choice for projector screens that stay in one location most of the time.
Electric Screens: High-end projection screens that add elegance to their permanent location.
Fixed Frame: Permanently tensioned screen stretched around a frame and installed in a fixed location.
There are a wide variety of screens available in each of these mounting orientations. Some screens will include additional features such as designer casing, tab tensioning, adjustable masking borders, and more. For each mounting type, we list the available features in a convenient chart format.
Quick Tip: Projector People's most popular screen mounting options are portable (for road warriors, hotels, convention halls, and educational facilities) and manual (for boardrooms, classrooms, or home theaters.) We also recommend that you purchase your projector before ordering a screen .
